Optical profilometer for industry
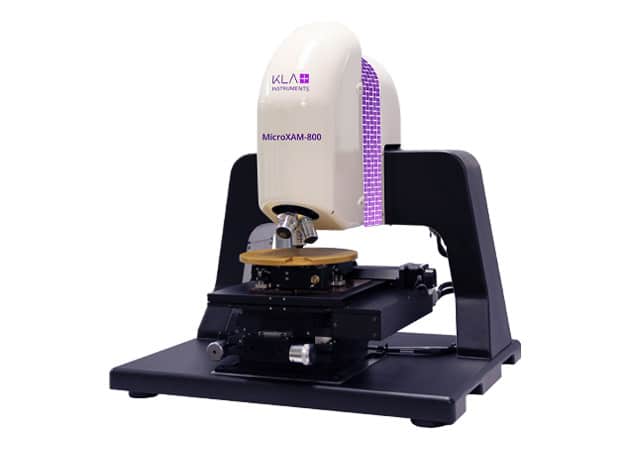
MicroXAM 800
1. For industry
2. Automated measurement on several sites
3. VSI & PSI white light
4. Interferometric: white light VSI - Nomarski - PSI
5. Simple and flexible
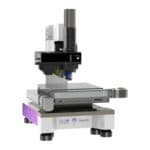
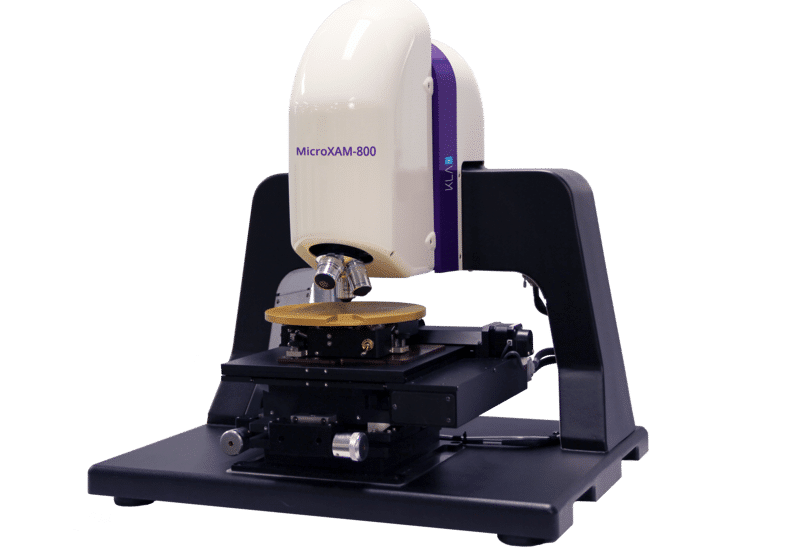
The MicroXAM-800 is an optical profiler based on a white light interferometer which measures nanometer level characteristics with phase scanning interferometry (PSI), and characteristics ranging from micron to millimeter with vertical scanning interferometry (VSI). With a simple and flexible recipe configuration for single analyzes or automated measurements on multiple sites, the MicroXAM-800 supports research and development and production environments.
Applications in optical profilometry
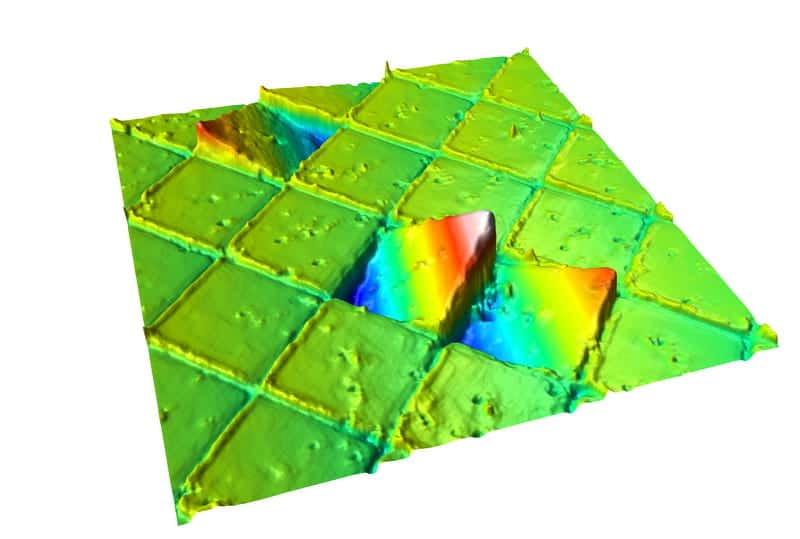
- Step height: 3D step height from nanometers to millimeters
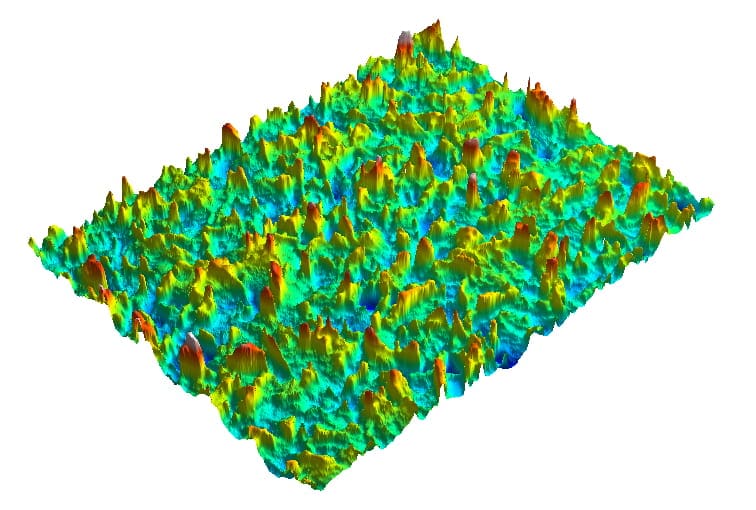
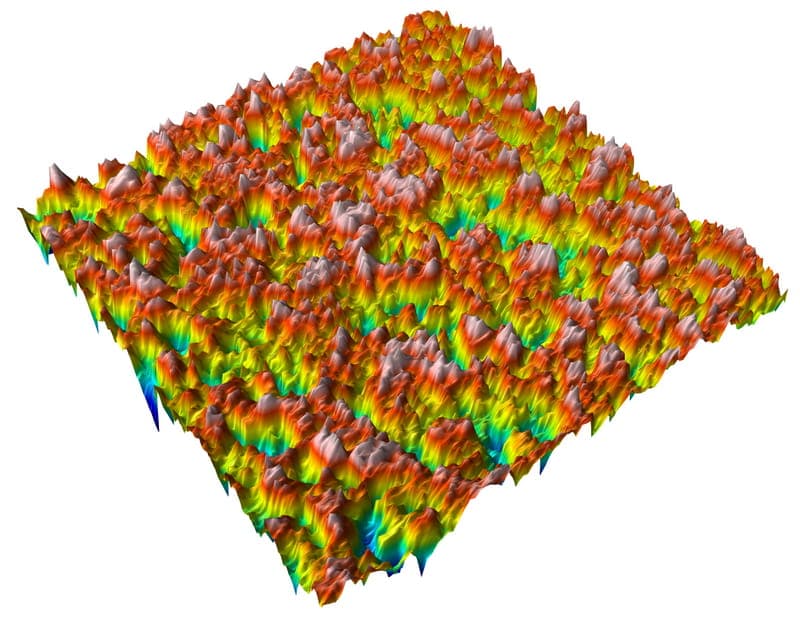
- Texture: roughness and 3D waviness
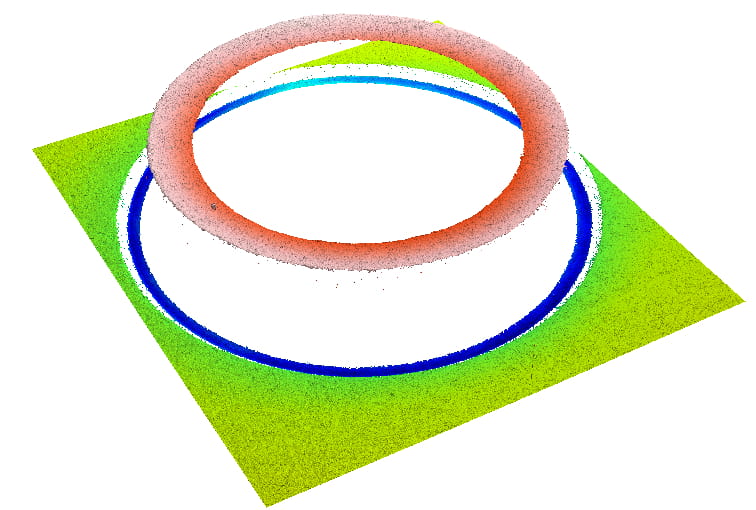
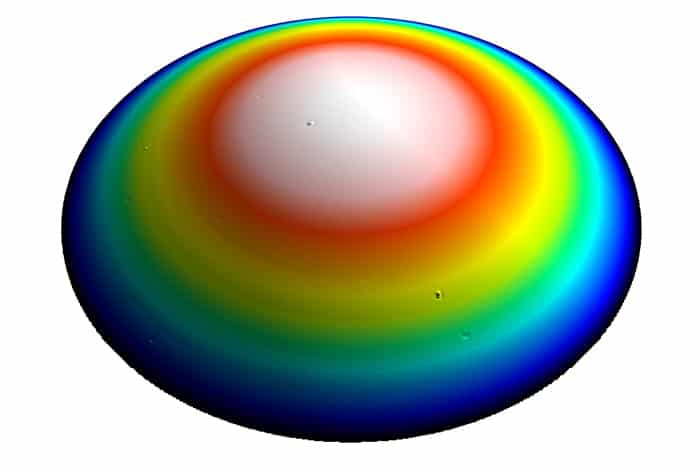
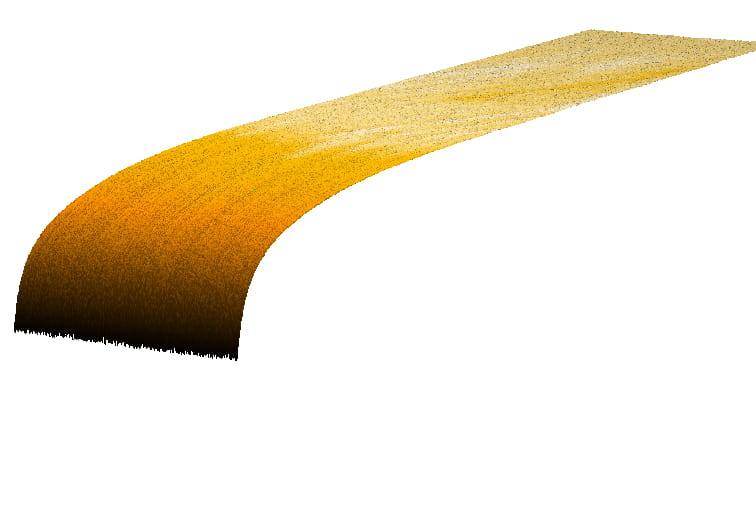
- Shape: arc and 3D shape
- Rolloff Edge: 3D edge profile measurements
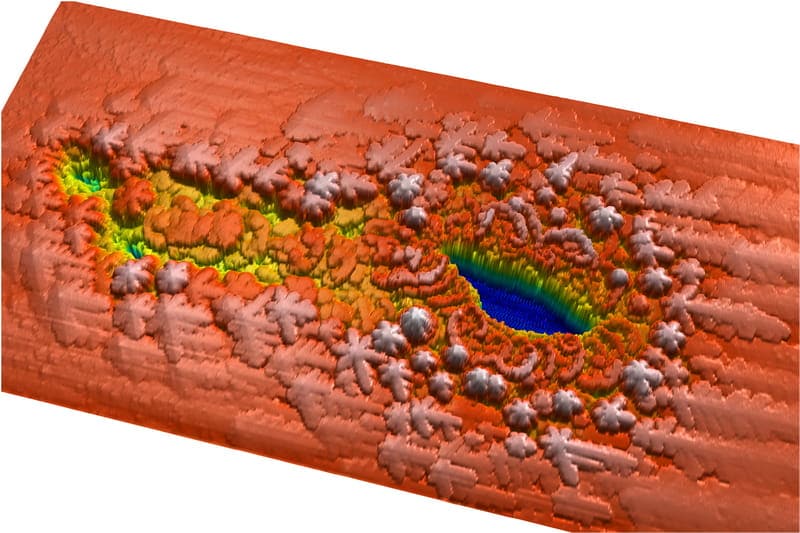
- Examination of faults: 3D surface topography
- Industries
- Universities, research laboratories and institutes
- Semiconductor and compound semiconductor
- LED: light emitting diodes
- Feeding devices
- MEMS: micro-electro-mechanical systems
- Data storage
- Medical equipement
- Precision surfaces
- automobile
- Universities, research laboratories and institutes
More info on applications
- Surface science
- Science of materials
- Solar cells
- Materials for energy
- Semiconductors
- Polymers and Composites
- Surface roughness
- Coatings
Optical profilometry for industry
The MicroXAM-800 optical profilometer is a non-contact 3D surface topography measurement system. The MicroXAM white light interferometer generates high resolution measurements of the surface with resolution at the angstrom level. The system supports phase and vertical scanning interferometers, both of which are traditional coherence scanning interferometry (CSI) techniques. MicroXAM extends these techniques with SMART Acquire to simplify configuration of recipes for novice users, and in z-assembly interferometry to allow measurement of large pitch heights at high speed.
The advantage of the MicroXAM measurement technique is that the vertical resolution of the measurement is independent of the digital aperture of the objective, which allows high resolution measurements with a large field of vision. The measured surface can be further increased by combining several fields of vision in a single measurement. The MicroXAM also features a simple and innovative user interface to support a wide range of work environments, from research and development to production.
ADVANTAGES
- For industry
- Automated measurement on several sites
- VSI & PSI white light
- Interferometric: VSI white light - Nomarski - PSI
- Simple and flexible
- Phase and vertical scanning interferometry for entities ranging from nanometer to millimeter
- Acquire the simplified SMART acquisition mode with the best known recipe configuration for entering a measurement range
- Z-point interferometry acquisition mode for individual scanning and compilation of multiple surfaces separated by large distances z
- XY stitching for combining contiguous sampling areas larger than a single field of view in a single scan
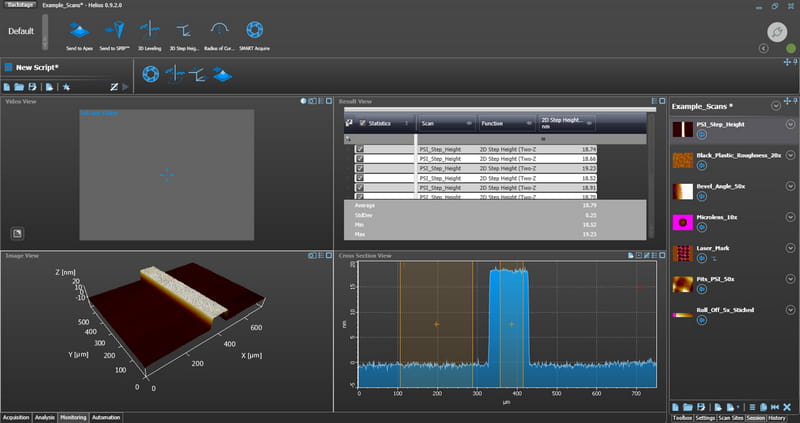
- Simplified creation of sophisticated measurement and analysis workflows using scripts, for flexibility in measurement locations, leveling, filtering and parameter calculations
- Porting of algorithms from other optical profilers and styli in order to take advantage of the best known techniques
Options
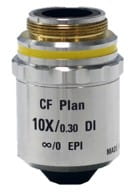
Objective lenses
The five-position turret contains objectives with magnifications ranging from 5x to 100x, to support nano, micro and macro-topography applications. The turret can be quickly removed to directly mount a 2.5x or 5x objective. Calibrations allow you to center and center the characteristics of the samples when switching between objectives.
Stages
Motorized stages for the X-Y and Z axes are standard on the MicroXAM-800 system. The X-Y stage has a range of 152 mm by 152 mm. Stage Z has a range of 125mm and supports an optional offset of 76mm for large samples. An optional theta stage has a range of 360 °. The movement on all axes of movement is programmable with script. A manual tilt and tilt step is standard with a movement of ± 6 °.
Sample Holder
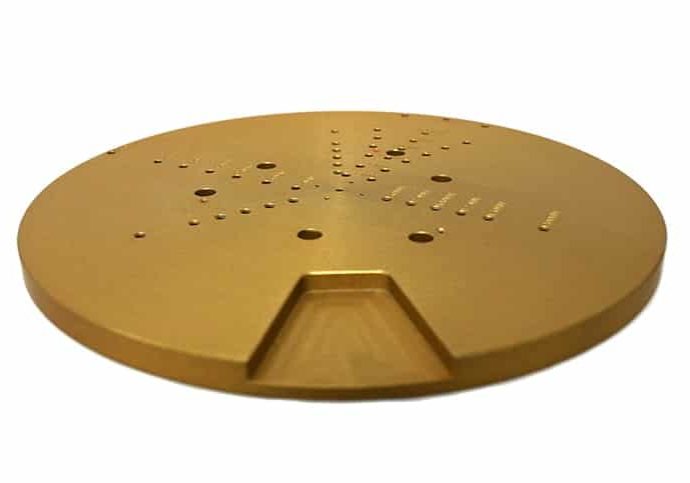
Several sample holders are available to support a variety of sample types. Options include a simple flat surface, optical bench layout, universal precision chucks (150mm or 200mm) and a solar cell mandrel (156mm x 156mm). The chucks include locating pins for various sample configurations and a manual vacuum switch.
Insulation tables
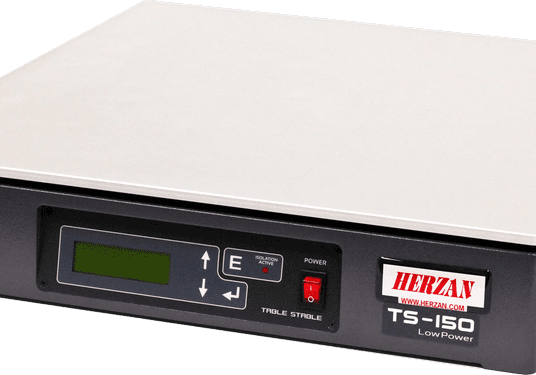
The MicroXAM offers table and stand-alone passive insulation table options. The Granite Isolator ™ series offers table systems combining granite with high-quality silicone gel to provide passive insulation. TMC 63-500 series is a stand-alone table that uses pneumatic isolators to provide passive isolation. The TS Herzan series offers table systems using piezoelectric drives to provide active isolation.
Step height
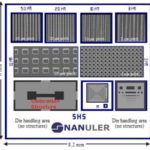
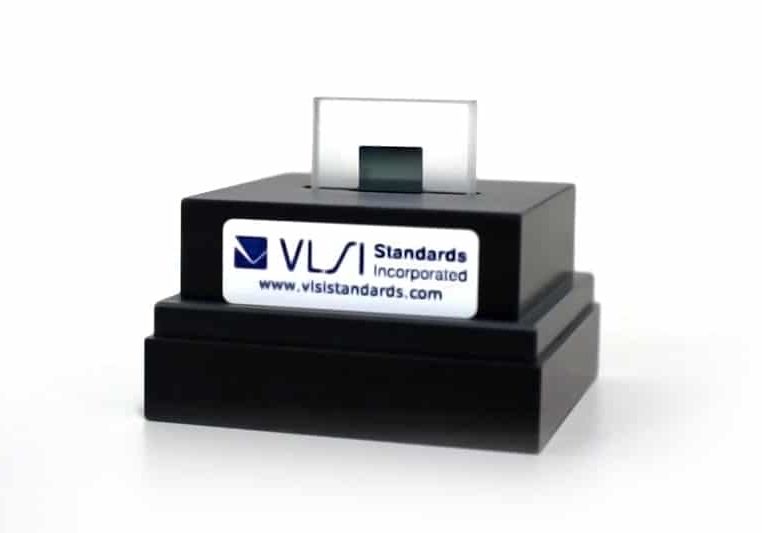
The MicroXAM-800 uses the tread height standards traceable to NIST, thin film and thick film, proposed by the VLSI standards. The standards include an engraved quartz step with a chrome coating. The proposed step heights range from 8 µm to 250 µm.
Apex analysis software
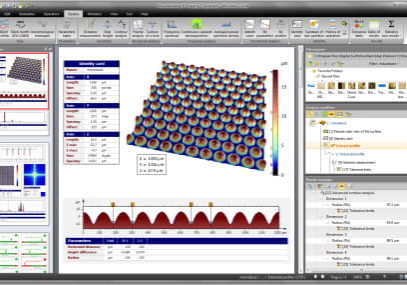
Apex analysis software enhances the standard data analysis capabilities of the MicroXAM-800 with an extensive suite of leveling, filtering, step height, roughness, and surface topography analysis techniques. Apex supports ISO roughness calculation methods, as well as local standards such as ASME. Apex also serves as a reporting platform with the ability to add text, annotations and pass / fail criteria. Apex is available in eight languages.
Offline analysis software
MicroXAM-800 offline software has the same data analysis and recipe creation capacity as the tool. This allows the user to create recipes and analyze data without using precious time.
Contact us for more information on this product
Would you like an estimation ?
Additional information?
We will reply to you within 24 hours


