Nanoindentor for High temperature
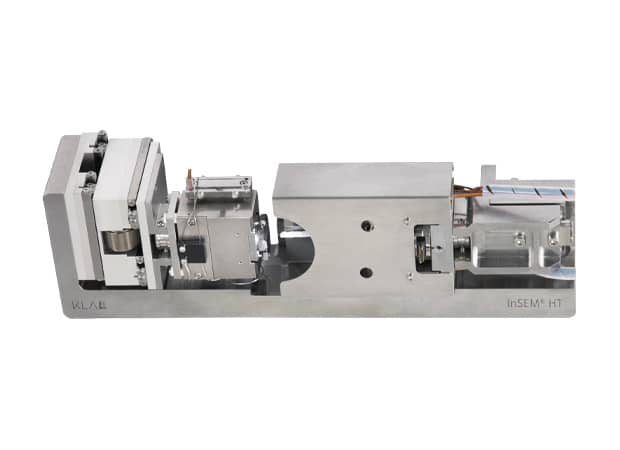
InSEM HT
1. Mechanical properties at high temperature under vacuum
2. Deformations in real time,
3. Compatible with scanning electron microscope (SEM) and focused ion beam (FIB) chambers, or autonomous vacuum chambers
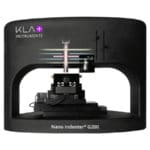
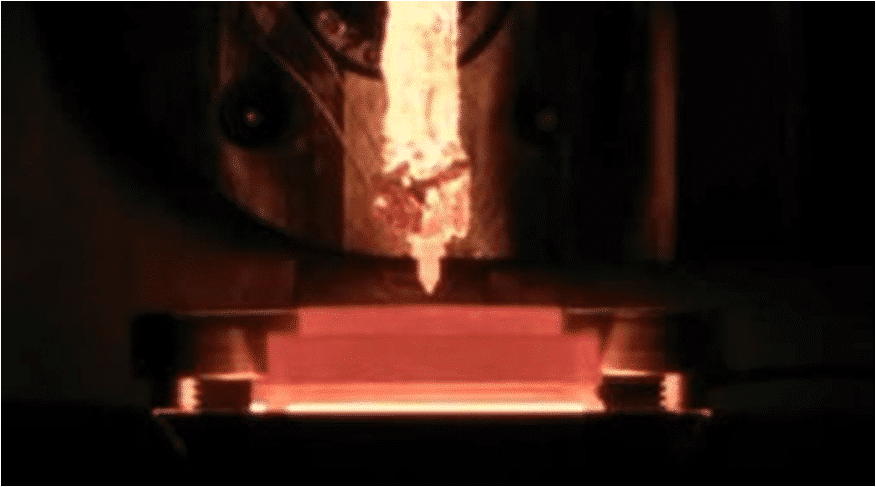
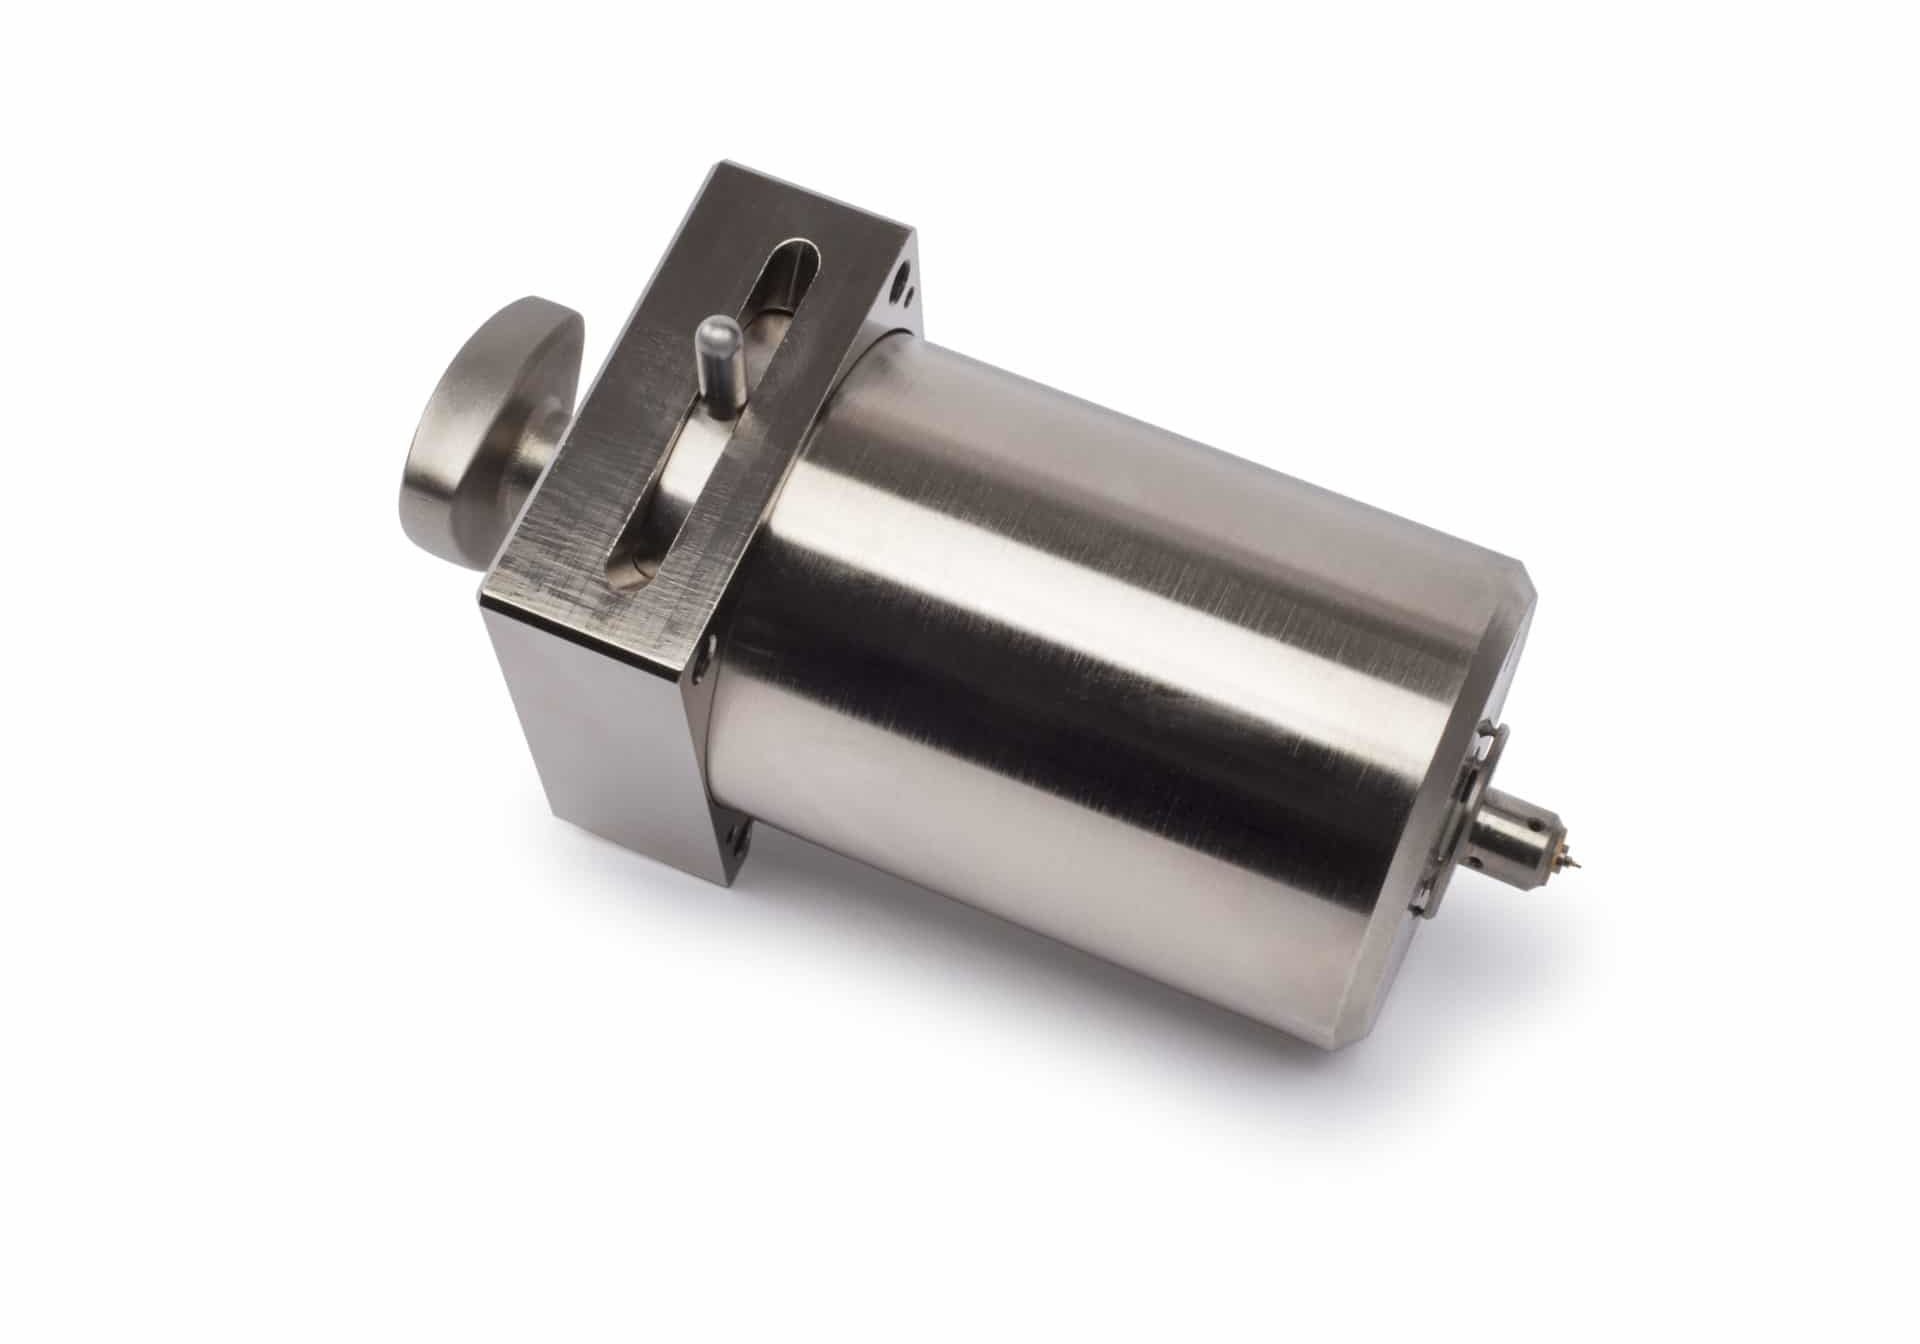
The KLA InSEM® HT (high temperature) test system allows mechanical properties to be tested at high temperature under vacuum on small volumes of materials, without sacrificing precision or cost. InSEM HT can visualize deformations in real time, which provides a better understanding of the performance of materials at high temperatures.
Applications of nanoindentation
- High temperature tests
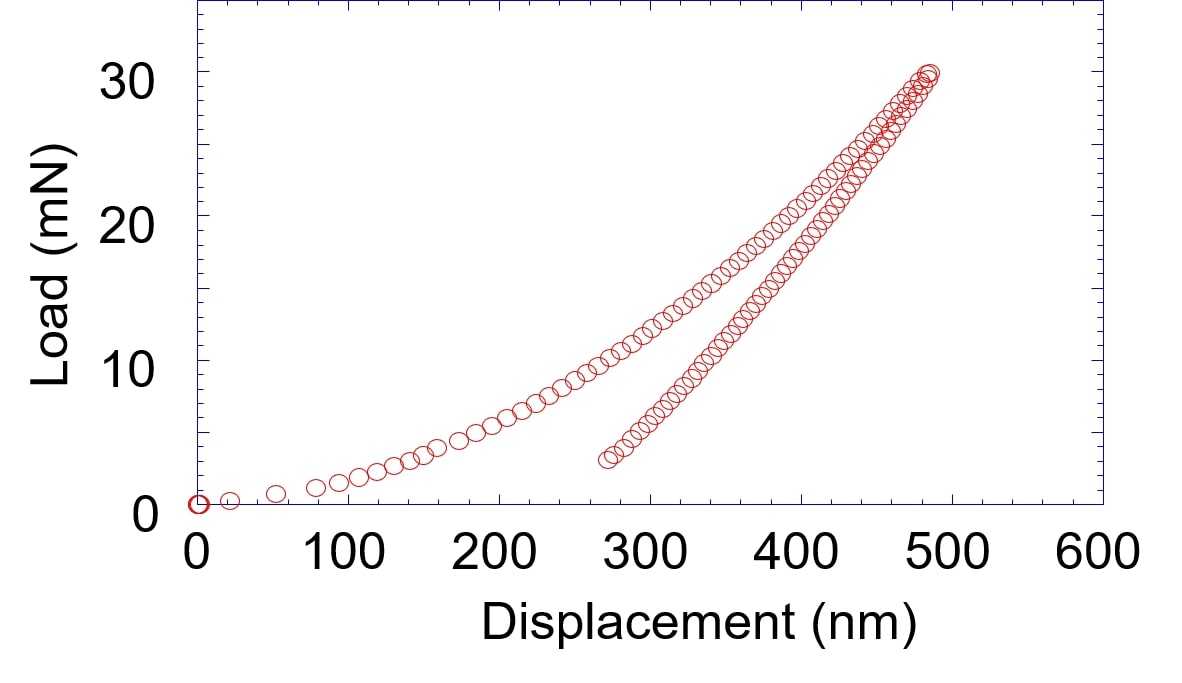
- Hardness and modulus measurements (Oliver-Pharr)
- Continuous stiffness measurement
- High-speed hardware property cards
- Creep measurement
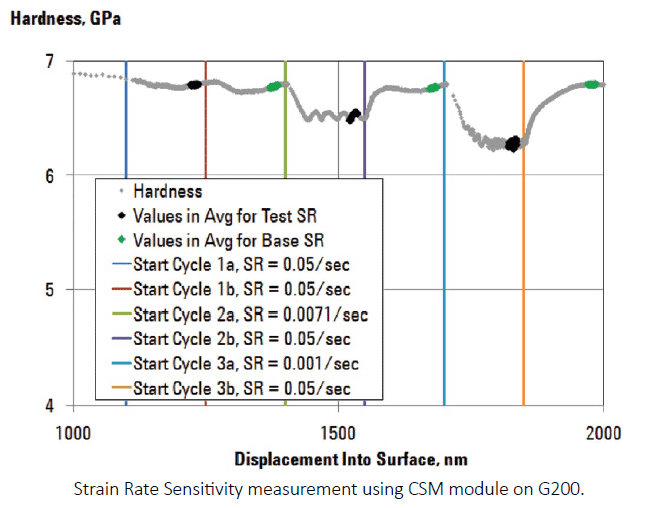
- Stress rate sensitivity
- industries
- Universities, research laboratories and institutes
- Aerospace
- Automobile manufacturing
- Hard coatings
- Nuclear energy
- Military / defense
- Universities, research laboratories and institutes
More info on applications
- Adhesion
- Hardness
- Young module
- Scratch
High temperature nanoindentation
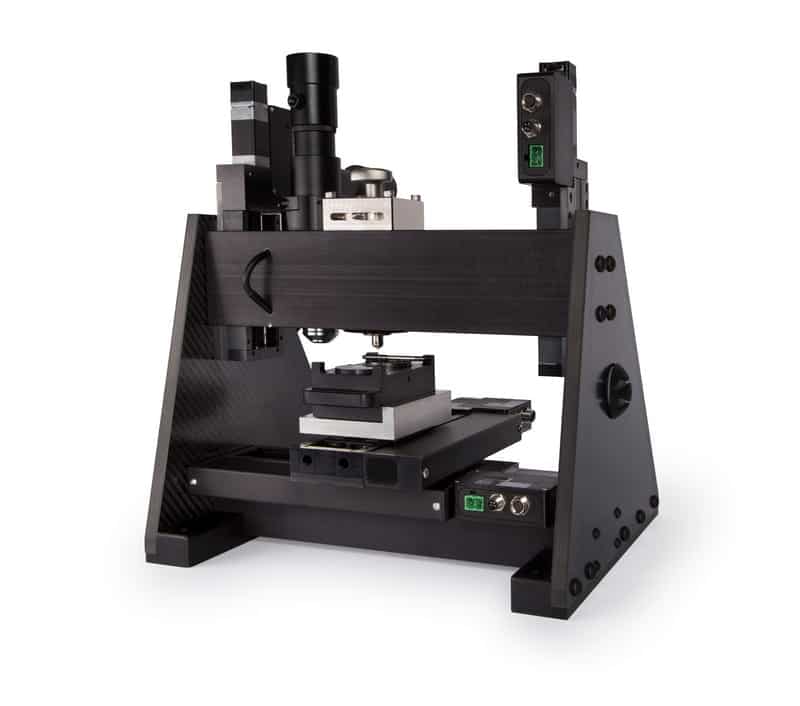
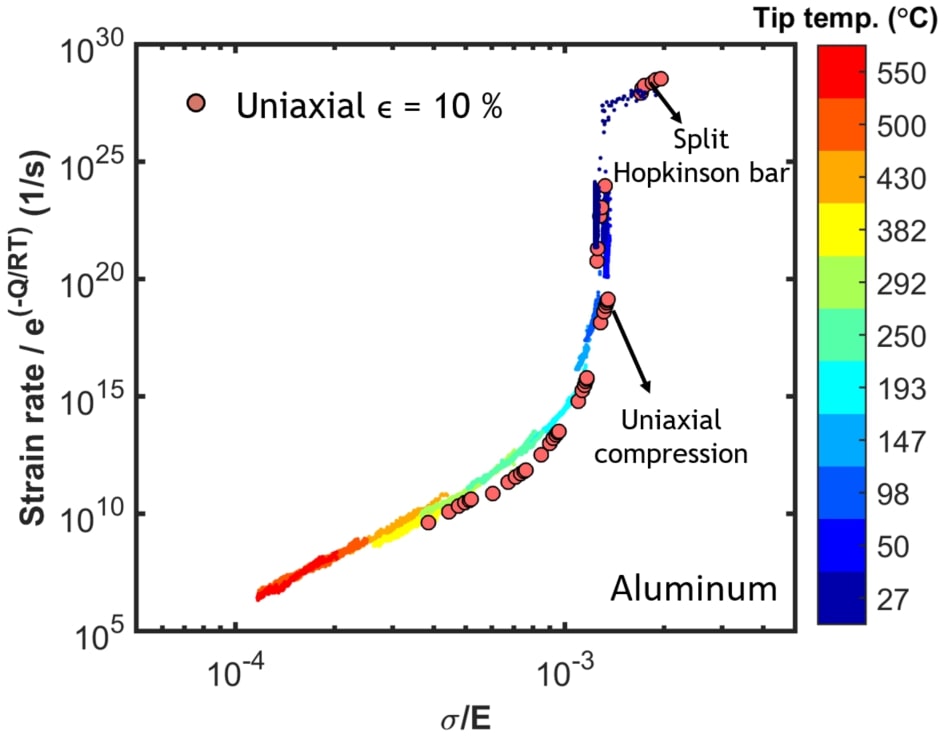
The InSEM ® HT (high temperature) measures hardness, modulus and rigidity at high temperature by independently heating the tip and the sample in a vacuum environment. The InSEM ® HT is compatible with scanning electron microscope (SEM) and focused ion beam (FIB) chambers, or autonomous vacuum chambers. The associated InView software helps advanced researchers to develop new experiences. Scientific publications show that the results of InSEM ® HT correspond well to traditional test data on a large scale and at high temperature. The combination of the extended temperature range and the low operating cost makes the InSEM ® HT a valuable tool for material development research programs.
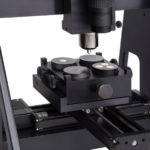
The InSEM HT high temperature test system allows independent heating of the tip and samples in a vacuum environment. It is compatible with many SEM / FIB chambers or autonomous vacuum chambers. With temperatures up to 800 ° C, extreme temperature conditions can be simulated in situ to produce consistent and reliable test data. Monocrystalline tungsten carbide tips on a molybdenum support are optimized for use in high temperature test applications and are available in multiple geometries.
ADVANTAGES
- Accurate, flexible and user-friendly
- Wide range of nanomechanical tests
- Hard materials, high loads, great depth (> 1N of force)
- InForce 50 actuator with tip heating for capacitive displacement measurement and electromagnetic force activation with interchangeable tips
- Sample heating up to 800 ° C with a vacuum compatible sample mounting system with a sample size of 10 mm
- InQuest high speed controller electronics with 100 kHz data acquisition rate and 20 µs time constant
- XYZ motion system for sample targeting
- SEM video capture for SEM images synchronized with test data
- Unique tip calibration system built into the software for fast and accurate tip calibration
- InView control and data verification software with Windows ® 10 compatibility and developer of methods for user-designed experiments
Options

Continuous stiffness measurement (CSM)
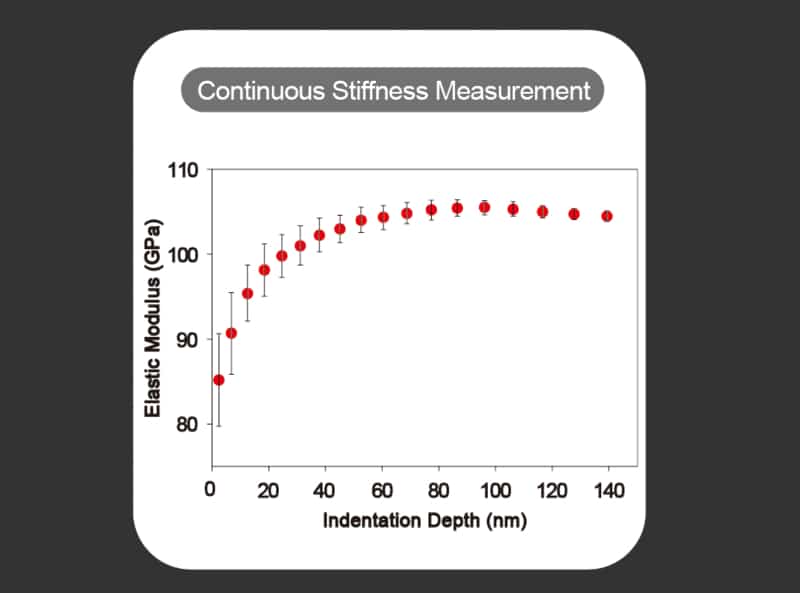
Continuous stiffness measurement is used to quantify the dynamic properties of the material, such as the rate of deformation and the effects induced by frequency. The CSM technique involves oscillation of the probe during indentation to measure properties as a function of depth, force, time or frequency. The option comes with a constant stress rate experience that measures hardness and modulus as a function of depth or load, the most common test method used in universities and industry. CSM is also used for other advanced measurement options, including the ProbeDMA ™ method for storage and loss module measurements and AccuFilm ™ measurements independent of the substrate. The CSM is integrated with the InQuest controller and InView software to provide ease of use and data quality.
InForce 50 actuator
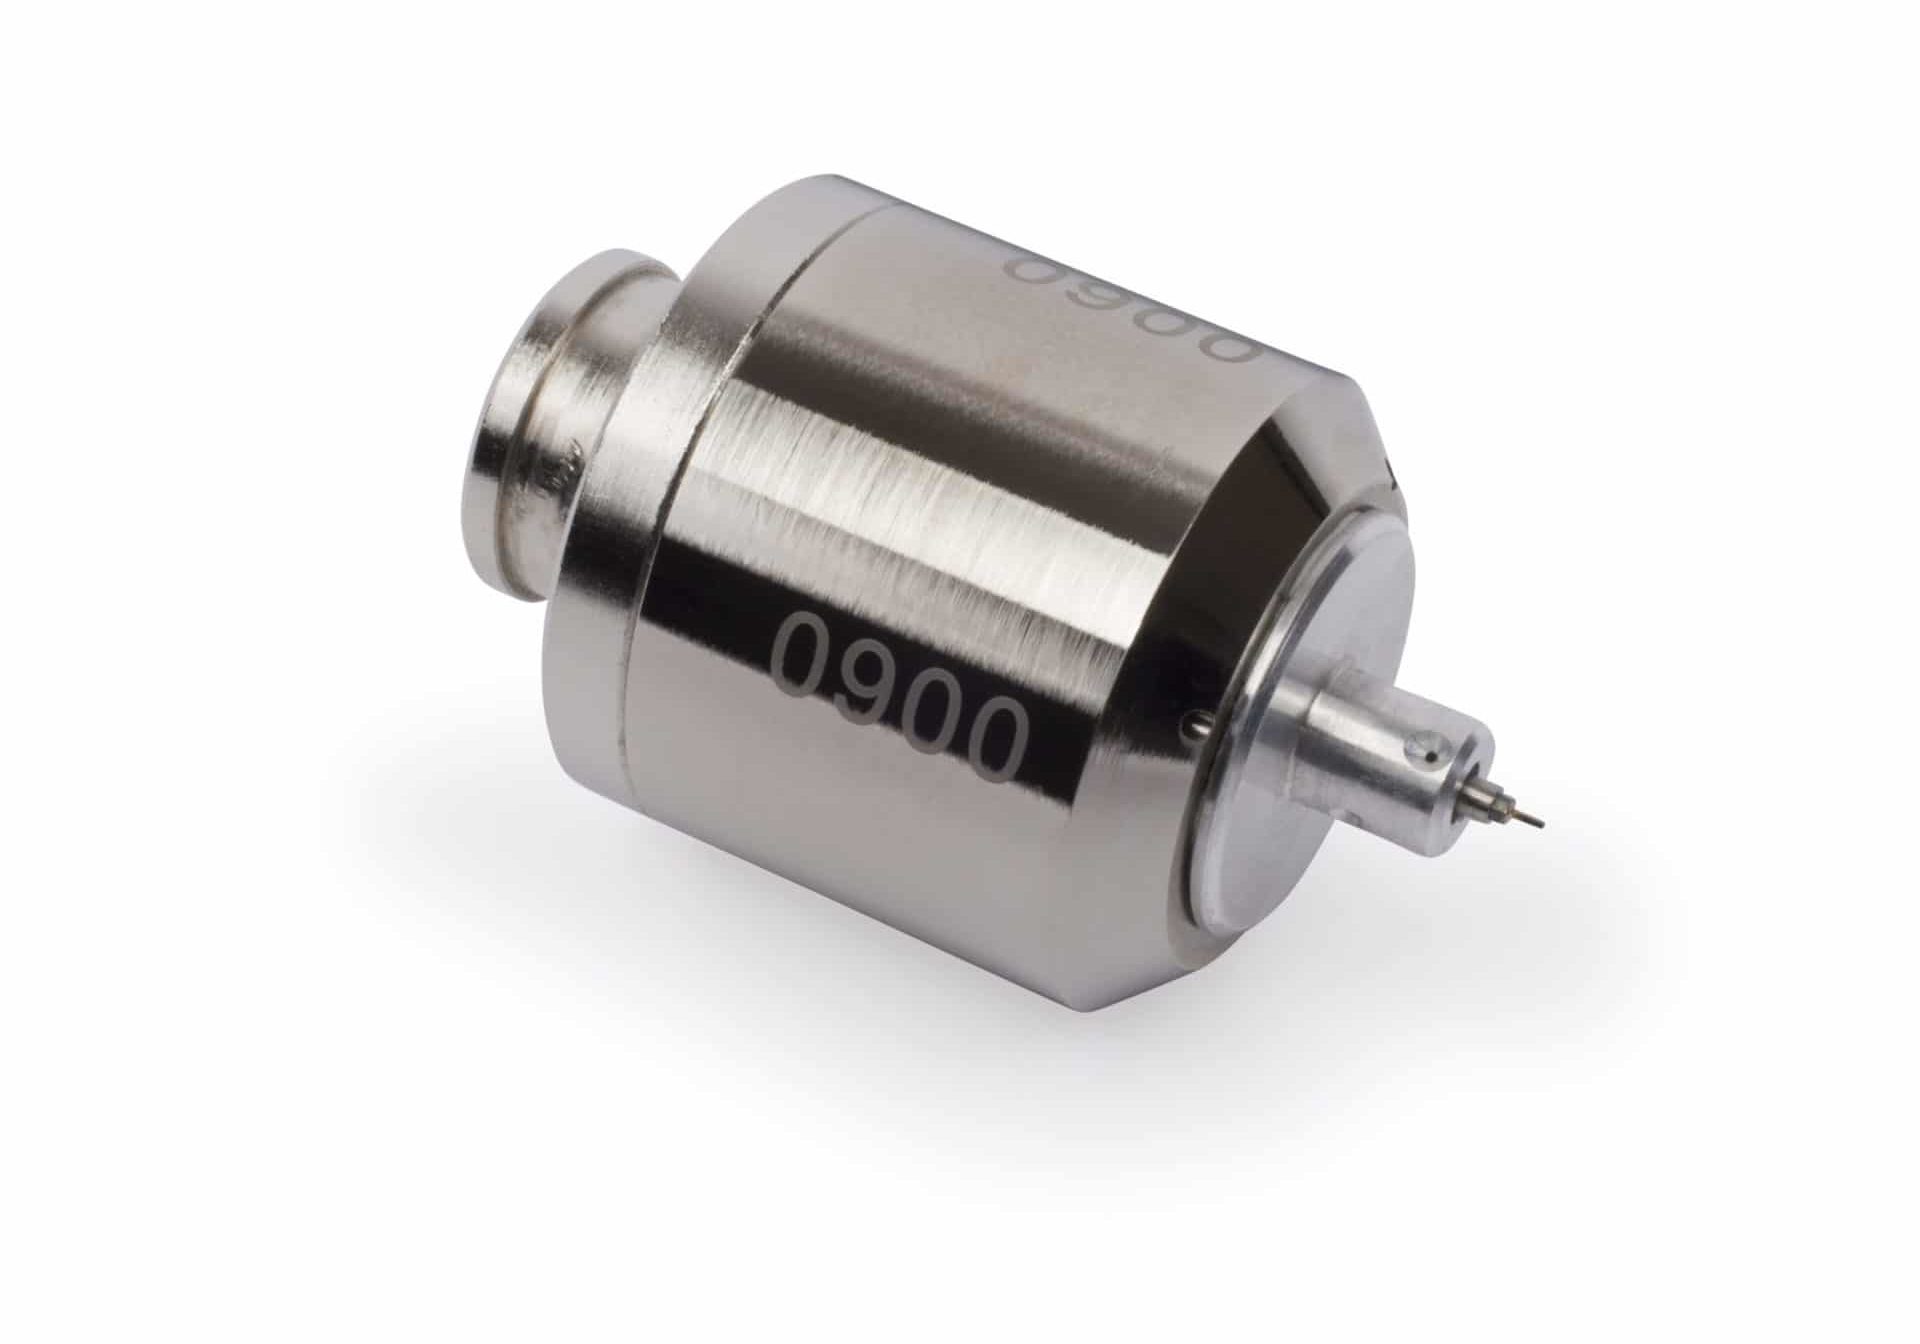
The InForce 50 actuator performs nanomechanical tests with forces up to 50 mN. The patented application of electromagnetic force guarantees robust measurements as well as long-term stability of force and displacement. State-of-the-art mechanical design ensures that harmonic movement is constrained to a degree of freedom, so that force and displacement are controlled along a single axis. The InForce 50 actuator is compatible with the CSM, NanoBlitz, ProbeDMA, biomaterials, sample heating, scratches, wear and ISO 14577 test options. The tips are interchangeable between the full range of InForce actuators and Gemini.
InForce 1000 actuator
The InForce 1000 actuator performs nanomechanical tests with forces up to 1000 mN. The patented application of electromagnetic force guarantees robust measurements as well as long-term stability of force and displacement. State-of-the-art mechanical design provides harmonic movement of one degree of freedom, so that force and displacement are controlled along a single axis. The tips are interchangeable with the entire range of InForce and Gemini actuators. The InForce 1000 servo motor is compatible with CSM, NanoBlitz, sample heating, scratch, wear and ISO 14577 testing options.
NanoBlitz 3D
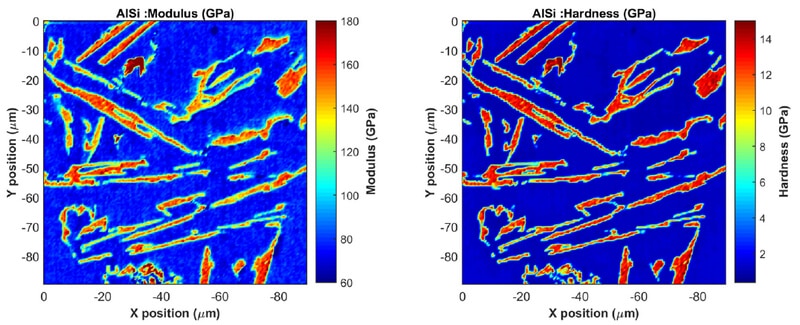
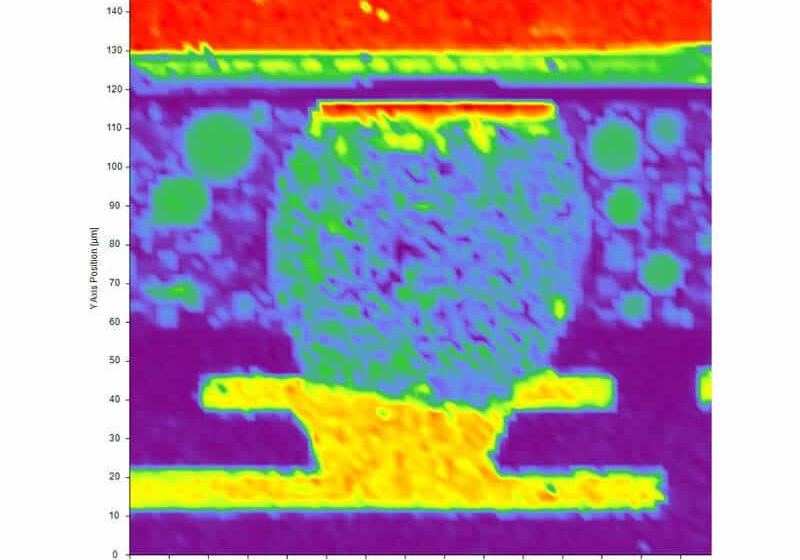
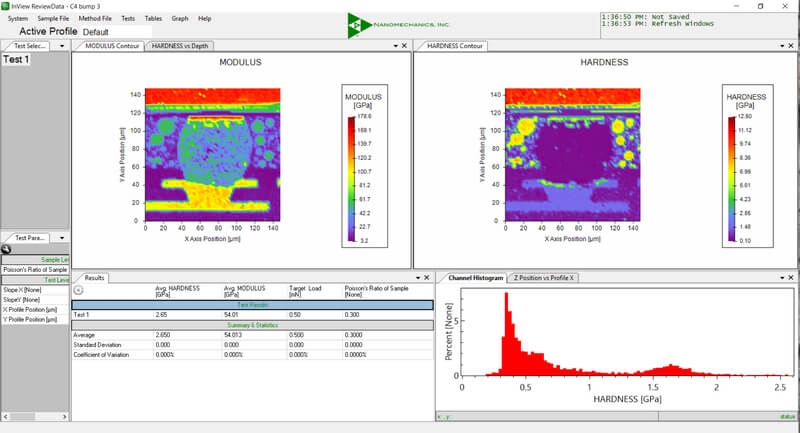
NanoBlitz 3D uses the InForce 50 or InForce 1000 actuator and a Berkovich tip to generate 3D maps of nanomechanical properties for high E factor materials (> 3GPa). NanoBlitz performs up to 100,000 withdrawals (300x300 matrix) at <1 second per withdrawal and provides Young's modulus (E), hardness (H) and stiffness (S) values at a specified load for each withdrawal from the network . The large number of tests allows increased statistical precision. The histogram graphs show several phases or materials. The NanoBlitz 3D package includes visualization and data processing functionalities.
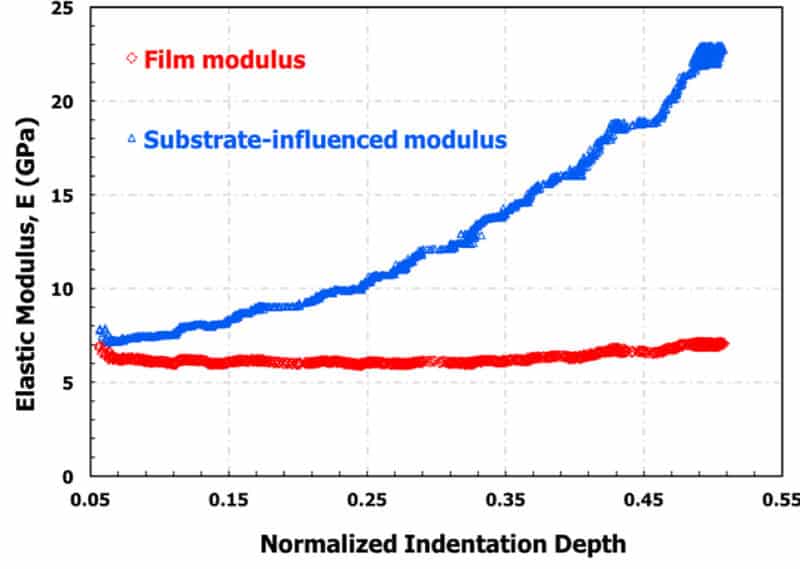
AccuFilm is an InView test method based on the Hay-Crawford model to measure the properties of materials independent of the substrate using continuous stiffness measurement (CSM). AccuFilm corrects the influence of the substrate on the film measurements for hard films on soft substrates, as well as for soft films on hard substrates.
DataBurst
DataBurst allows systems with InView software and the InQuest controller to record displacement data at speeds> 1 kHz for the measurement of strain loads, jumps and other high-speed events. IMicro systems with the user method development option can also modify the methods for working with DataBurst.
Development of user methods for InView control software
InView is a powerful and intuitive platform for experiential scripting that can be used to design new or complex experiments. Experienced users can configure and perform virtually any small-scale mechanical test using the iMicro system equipped with the exclusive InView option.
Indentation tips and calibration samples
The InForce 50, InForce 1000 and Gemini actuators use interchangeable tips. A wide variety of vivid penetrations are available, such as Berkovich, cube corner and Vickers, as well as flat punches, sphere punches and other geometries. Standard reference materials and calibration standards are also available for the entire product range.
Contact us for more information on this product
Would you like an estimation ?
Additional information?
We will reply to you within 24 hours


